Accidents in the kitchen can happen in the blink of an eye, whether it’s a minor burn, a knife slip, or a spill leading to a fall. With so many potential hazards, it’s important to be ready for unexpected injuries while cooking.
Did you know that cuts from kitchen knives are among the most common injuries treated in emergency rooms? Simple mistakes can lead to serious wounds if not handled properly.
Without the right first aid knowledge, even a small injury can quickly become more complicated.
In this guide, you’ll learn key first aid tips that can prevent minor incidents from escalating into bigger problems. We’ll focus on practical solutions to help you stay safe in your kitchen and handle injuries with confidence.
First Aids For Cuts in the Kitchen
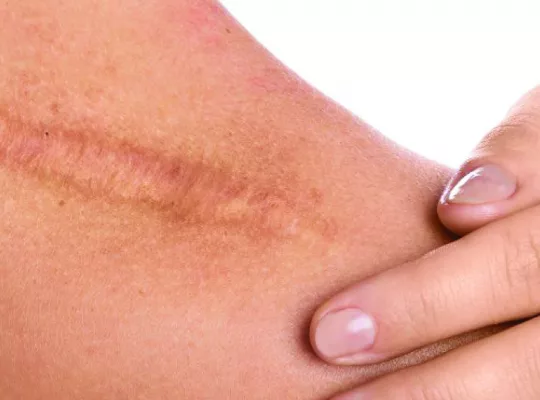
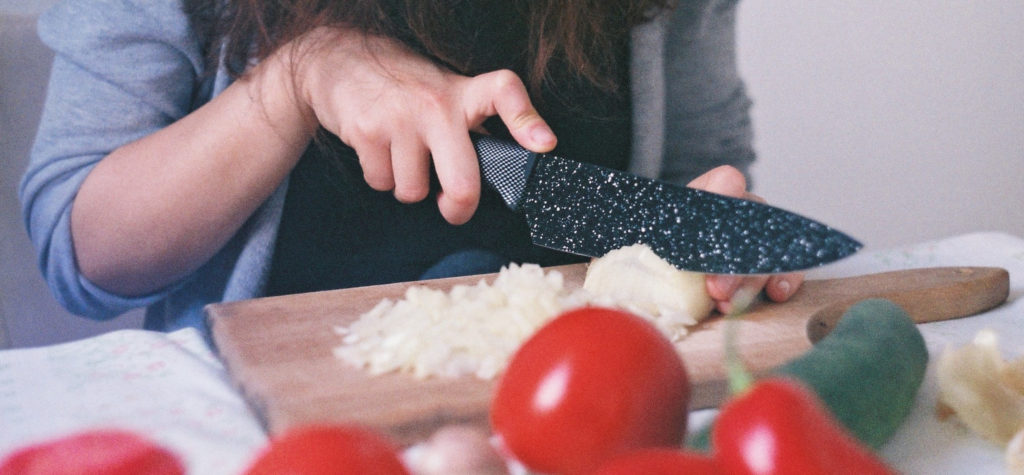
Kitchen cuts happen frequently due to the use of sharp tools like knives, peelers, and graters. Knowing how to treat these injuries quickly can help prevent infections and support healing. Below are key steps to follow if you or someone else sustains a cut while preparing food.
- Stop the Bleeding: Start by applying light pressure to the wound with a clean cloth or bandage to control the bleeding. If possible, raise the injured area above heart level to slow the flow of blood. Maintain pressure until the bleeding stops.
- Clean the Wound: Once the bleeding is under control, rinse the area under clean, running water to wash away dirt and bacteria. Be cautious with soap—using it directly on the wound could cause irritation. Removing visible debris ensures the area is ready for the next steps.
- Apply an Antiseptic: Disinfect the wound by gently applying an antiseptic solution or wipe to the surrounding skin. This step reduces the risk of infection by eliminating any bacteria that may have entered the area during the injury.
- Cover the Cut: Protect the wound with a sterile bandage or adhesive strip to block out dirt and bacteria. Make sure the bandage stays clean by replacing it daily or whenever it becomes wet or dirty. Proper coverage helps keep the wound in an environment that encourages healing.
After all that, you should keep an eye on the wound over the next few days. Redness, swelling, increased pain, or pus are signs of infection that may require medical attention. If these symptoms develop, consult a healthcare provider to prevent further complications.
First Aid For Kitchen Burns
Kitchen burns are a frequent household injury, often caused by hot liquids, steam, or heated surfaces. Immediate and correct first aid can minimize damage and encourage faster recovery. This guide provides step-by-step instructions for treating burns of varying severity.
Immediate Steps
- Stop the Burning Process: It is important to act swiftly to prevent further harm. Move the injured person away from the heat source. If clothing catches fire, assist them with the stop, drop, and roll technique to extinguish flames.
- Cool the Burn: Run cool (not cold) water over the affected area for 10 to 20 minutes. Avoid using ice or very cold water, which may cause additional tissue damage.
- Remove Constrictive Items: Before swelling begins, gently remove any jewelry, such as rings or bracelets, as well as tight clothing near the burned area. This will help prevent circulation issues as swelling develops.
First-Degree Burns
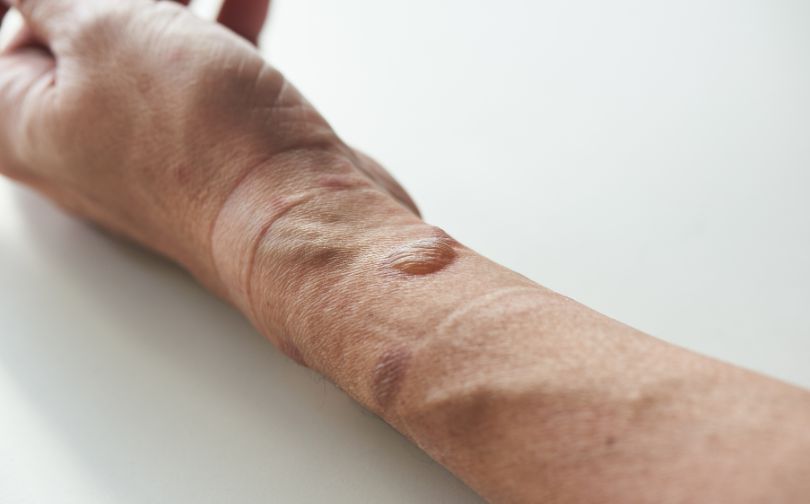
First-degree burns affect only the top layer of skin, causing redness, minor swelling, and pain. These burns are typically mild and can be treated at home with proper care.
Start by holding the affected area under cool running water for several minutes to reduce heat and soothe the skin.
Once cooled, apply a sterile, non-adhesive bandage to protect the burn and prevent further irritation. Over-the-counter pain relievers, such as ibuprofen or acetaminophen, can help manage discomfort and swelling.
With this care, first-degree burns usually heal within a few days without complications.
Second-Degree Burns
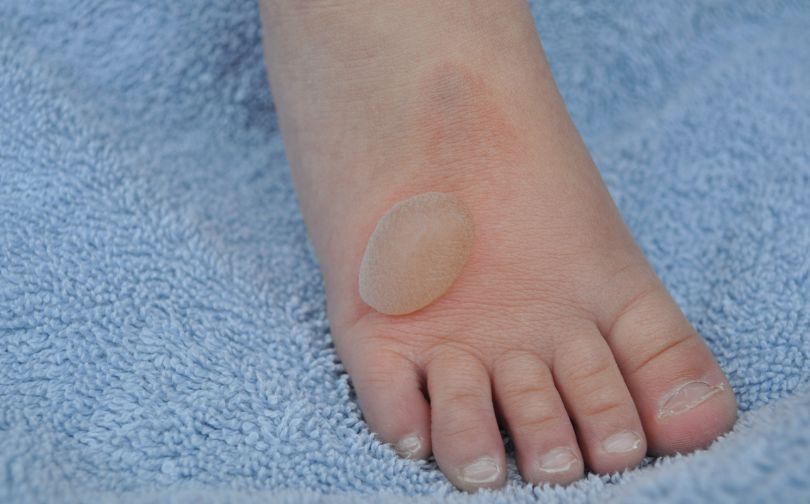
Second-degree burns penetrate deeper into the skin and result in redness, blisters, and more intense pain. These burns require more attention to prevent infection.
Begin by soaking the burn in cool water for 15 to 30 minutes to lower skin temperature and ease discomfort.
It is essential to avoid popping blisters, as this exposes the wound to infection. Instead, cover the area with a sterile dressing to shield the skin.
If the blisters are large or display warning signs of infection—such as increased redness, warmth, or pus—seek medical assistance immediately. Prompt care ensures the burn heals properly and minimizes complications.
Third-Degree Burns
Third-degree burns are severe injuries that damage all layers of the skin, leaving the area white or charred. Often, these burns may feel painless due to nerve damage. Immediate professional medical care is necessary.
Call emergency services without delay. While waiting for help, cover the burn loosely with a clean cloth or sterile bandage to protect it from contamination.
Do not immerse third-degree burns in water, as this can worsen the injury. Focus on preventing shock by keeping the injured person calm, laying them flat, and elevating their legs if it does not cause additional pain.
First Aid For Kitchen Eye Injuries
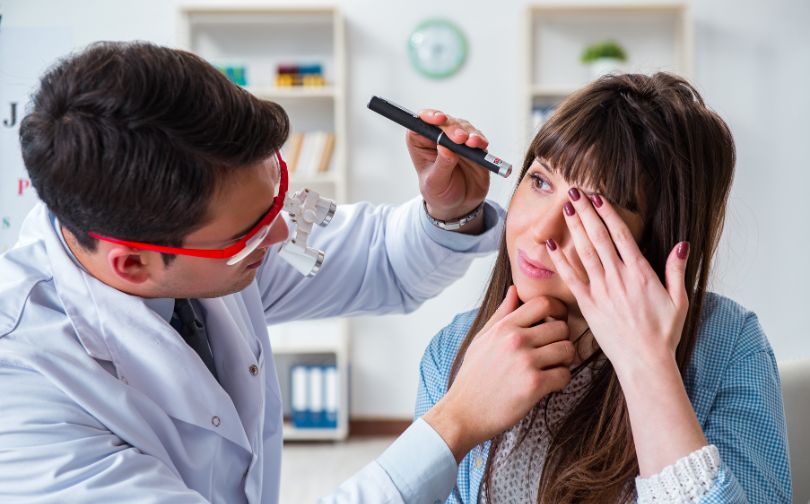
Eye injuries in the kitchen often result from exposure to hot liquids, chemicals, or physical trauma. Addressing these injuries quickly and appropriately helps minimize the risk of further harm.
Understanding the necessary steps for each situation ensures safe handling until professional medical care becomes available.
Injuries Due to Chemicals
Exposure to chemicals like cleaning agents can cause serious damage to the eyes. If a chemical gets into your eye, act immediately by flushing it with cool water or saline solution for at least 15 to 20 minutes. Hold your eyelids open while rinsing to ensure the solution thoroughly washes the area.
If you wear contact lenses, remove them during the flushing process to allow better access to the eye’s surface. After completing these steps, seek medical help right away, and provide information about the chemical involved, particularly if it was acidic or alkaline.
Injuries by Foreign Objects
Particles like dust or small food fragments can enter the eye and cause irritation. When this happens, resist the urge to rub your eye, as rubbing can worsen irritation or lead to scratches.
Instead, try blinking several times to stimulate tears that may naturally flush out the object. If blinking doesn’t resolve the issue, rinse your eye gently with water or saline.
If discomfort persists or you cannot remove the object, consult a healthcare professional for further evaluation.
Treating Eye Injuries
Accidental impacts to the eye, such as being struck by kitchen utensils or other items, can cause bruising and swelling.
To manage this, apply a cold compress gently over the injured area for intervals of 5 to 10 minutes, making sure not to place ice directly on the skin.
If you notice any vision changes, prolonged pain, or signs of bleeding, seek medical attention without delay to prevent complications.
First Aid For Falls in the Kitchen
Kitchen falls are a common hazard, often caused by slippery floors from spills or cluttered spaces. Quick action and proper first aid can help reduce the severity of injuries. Below are practical steps to handle kitchen falls, along with preventive tips to minimize future risks.
Immediate First Aid Steps
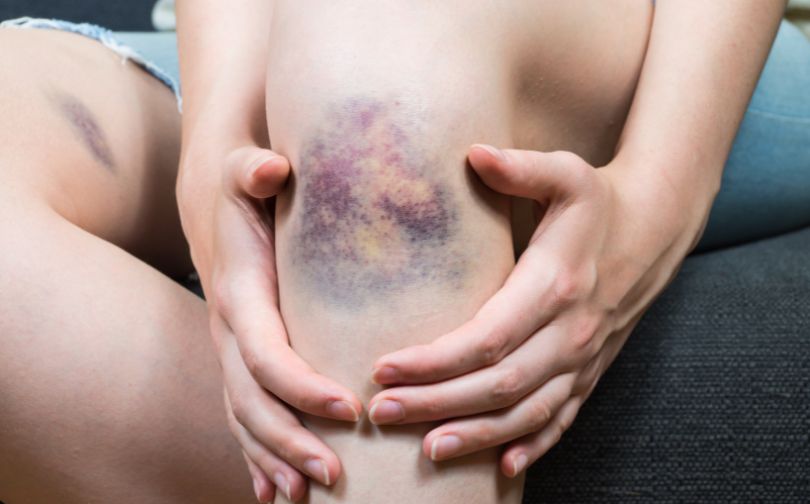
- Assess the Situation: First, check if the person shows signs of serious injury, such as sprains, bruises, or fractures. Avoid moving them if the injury seems severe, especially if a head injury is suspected, and call emergency services.
- Help Them Get Up Safely: If no serious injury is present, the person can rise slowly by rolling to their hands and knees. Crawling to a nearby chair or stable surface can offer support while standing up to prevent further strain.
- Immobilize the Affected Area: When a fracture or severe sprain is suspected, keep the injured area still. Applying a cold compress can help control swelling and reduce discomfort.
- Seek Medical Help When Needed: If the person experiences intense pain, cannot move certain limbs, or shows symptoms of a head injury (such as dizziness or confusion), contact emergency services immediately. Prompt medical attention ensures proper care and reduces long-term complications.
Conclusion
Handling kitchen injuries correctly can prevent minor incidents from escalating into serious problems. Knowing how to stop bleeding, clean wounds, and apply antiseptics is crucial for treating cuts and promoting faster healing. Monitoring for signs of infection ensures early intervention if complications arise.
When it comes to burns, immediate cooling with water and proper dressing are essential to minimize damage. More severe burns, such as second- or third-degree burns, require careful treatment and professional medical care to avoid further harm.
Eye injuries and falls are other common kitchen risks. Whether dealing with chemical exposure or a slip on a wet floor, quick and appropriate action makes a significant difference in recovery.
With the right first aid knowledge, you can confidently manage kitchen injuries and create a safer environment for cooking.
FAQs
What Steps Should Be Taken for a Kitchen Fire?
If it’s an oil fire, cover it with a lid or baking sheet to smother the flames, and turn off the heat source. Avoid using water on grease fires as it can cause the fire to spread. Keep a fire extinguisher in the kitchen for emergencies.
How Do I Handle a Choking Incident in the Kitchen?
Perform the Heimlich maneuver by standing behind the person, placing your hands around their abdomen, and applying quick upward thrusts until the object is expelled. If the obstruction persists, deliver five back blows between the shoulder blades.
What Should I Include in a Kitchen First Aid Kit?
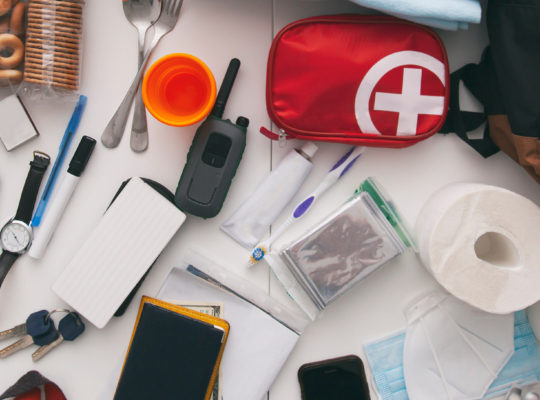
A well-stocked kitchen first aid kit should include bandages, antiseptic wipes, burn dressings, sterile gauze pads, adhesive tape, scissors, tweezers, and pain relievers. For restaurants and commercial kitchens, a Restaurant First Aid Kit is essential, as it contains more specialized supplies, such as burn gels, eye wash stations, and heavy-duty bandages to handle common workplace injuries. Having these supplies ready will help manage minor injuries effectively during kitchen emergencies.
How Can I Prevent Slips and Falls in the Kitchen?
Keep floors dry by cleaning up spills immediately. Use non-slip mats near sinks and stoves, and ensure rugs have non-slip backings to prevent tripping hazards. These precautions will reduce the risk of slipping or falling in the kitchen.

